SSH Connection Refused (Causes & Solutions)
This tutorial will look at the most common error you’re likely to encounter with SSH: Connection Refused. Read on for a closer look at this problem and the various solutions to it.
Secure Shell (SSH) is one of the most common tools that a system administrator uses. It’s essential for managing all of your servers and performing everyday tasks.
- 1 SSH service is not working
- 2 Forget to make it open at startup & solution
- 3 SSH port is not open
- 4 Firewall is blocking SSH port
- 5 SELinux blocking SSH
- 6 IP address conflict problem
- 7 Change in public keys after reinstall
- 8 SSH key files permissions
- 9 Root login if disabled and how to enable it
- 10 Backlog of connection requests (Flooding)
- 11 Using ssh -vvv to debug SSH connection & check logs
SSH service is not working
The most basic troubleshooting you can do is to first verify that SSH is installed on the system. There is a client version of SSH (used for remoting into other systems) and a server version (used for accepting incoming connections into the system).
To see if your SSH client is properly installed, just type “ssh” into the terminal.
$ ssh
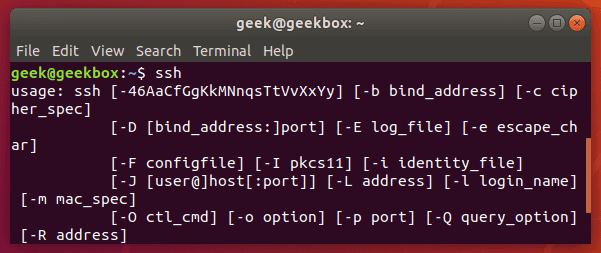
You’ll see some output like the screenshot above if you have the SSH client installed on your system.
To check if your system has the SSH server installed, try initiating a remote connection to the system itself:
$ ssh localhost
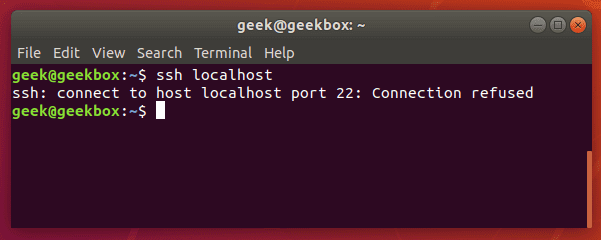
Trying to SSH into the localhost is a great way to see if your system is currently accepting connections.
Here we get the dreaded “connection refused” error message. This either means that the SSH server package isn’t installed on the system, or it could just mean that the service isn’t currently running.
Let’s try checking on the status of the SSH service:
$ systemctl status sshd
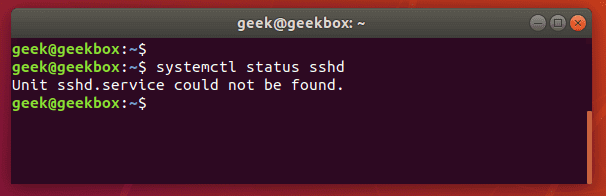
When checking on the status of the SSH daemon, the system informs us that the service could not be found. That means we need to install it.
We’re using Ubuntu in this example, so we’re going to use apt-get to install the openssh-server package. You may have to use a slightly different command, depending on what distribution you’re using.
$ sudo apt-get install openssh-server
After the installation, the SSH service may start up automatically. To check if it’s running, check the status again:
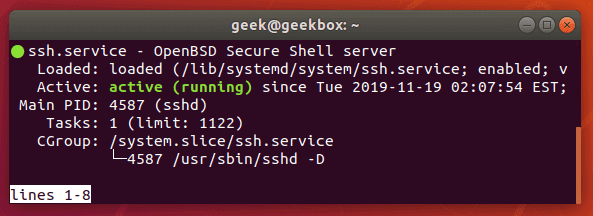
Systemctl shows us that the SSH service is now running (press ‘q’ to exit this screen and return to the terminal).
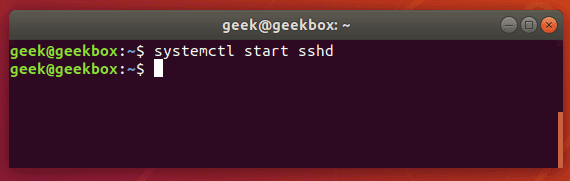
If the SSH daemon isn’t running on your system yet, you can start it with:
$ systemctl start sshd
Forget to make it open at startup & solution
Starting the SSH service every time you need it is obviously a little annoying, so if you’d like to make sure that your system is open to receiving SSH connections automatically when it starts up, you can use the following command as root or with sudo:
$ sudo systemctl enable ssh
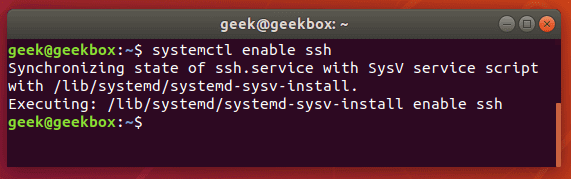
Running this command tells your system to start the SSH service every time the computer boots up. If you need to revert this setting later on, just type the same command but with “disable” instead of “enable”.
SSH port is not open
If you are still having connection issues after verifying that the SSH service is up and running, perhaps the SSH connection is being blocked before it even has a chance to reach the system – like on your router.
It’s common for routers to block incoming SSH connections on port 22. You can use any port forwarding tester to see whether or not the port is visible to the internet. If it’s not, the connection may be blocked at your router or the firewall on your system, which we will go over next.
To configure your router to allow incoming SSH connections, you will need to consult the manufacturer’s instructions regarding port forwarding on your particular router model.
Firewall is blocking SSH port
Another thing to check is your operating system’s firewall. Ubuntu and plenty of other distributions have ufw (uncomplicated firewall) installed by default, and it’s generally one of the most common ways to quickly issue firewall related commands to your system.
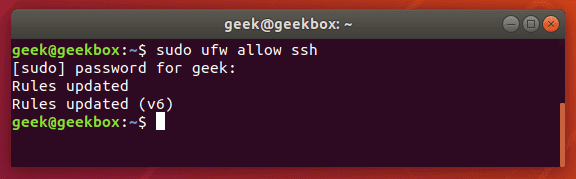
To allow SSH through your firewall via ufw, use this command:
$ sudo ufw allow ssh
Ufw is just a front-end for iptables firewall, so if you prefer to use an iptables command (or maybe you don’t even have ufw installed), here’s the iptables command to allow incoming SSH connections:
$ sudo iptables -A INPUT -p tcp --dport 22 -m conntrack --ctstate NEW,ESTABLISHED -j ACCEPT
If you are running firewalld and need to allow SSH connections, use this command:
$ firewall-cmd --zone=public --add-service=ssh
SELinux blocking SSH
Some distributions, like Red Hat and those based on it, run SELinux (Security Enhanced Linux). SELinux should be automatically configured to listen on port 22 for SSH, and you can verify that with the following command:
$ semanage port -l | grep ssh
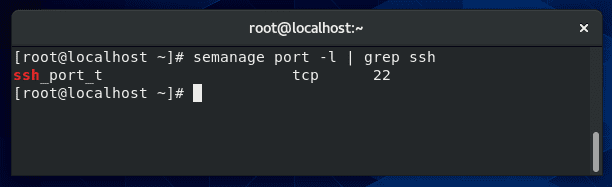
In the screenshot above, the semanage command shows us that it’s listening for incoming SSH connections on port 22 (the default port for SSH). You shouldn’t need to do any extra configuration to this unless you are trying to change the port that your system runs the SSH service on.
If you need to configure SELinux to listen for SSH on a different port, you can use this command:
$ semanage port -a -t ssh_port_t -p tcp 1234
Replace “1234” with the new port that you’ve configured SSH to run on.
Be sure to restart the SSH service after you’ve made these changes:
$ systemctl restart sshd
IP address conflict problem
If your system has a duplicate IP address on the network, SSH (and other services that depend on your network) are likely to have trouble functioning properly. This is always a good thing to check for, and it’s pretty simple to do with the host command.
$ host x.x.x.x
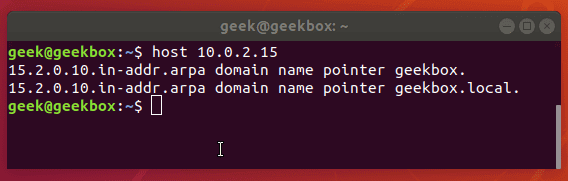
The host command returns with information about the IP address we just passed to it. Use the hostname to determine that you are indeed trying to reach the correct system.
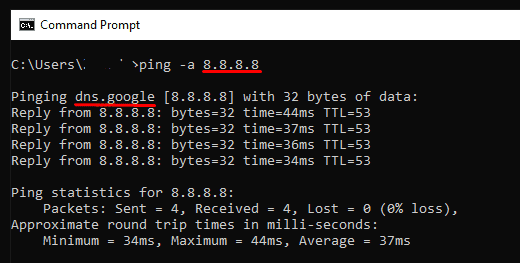
On Windows, you can use ping -a in the command prompt to achieve a similar result:
Change in public keys after reinstall
The SSH service generates a unique public key for each system. This is done so clients connecting to a system have a way to make sure that they’re connecting to the intended server.
For example, what if the server you usually connect to has switched IP addresses? You don’t want to type your login information into the wrong system that has assumed the former IP address.

If a situation like this occurs, your SSH client should warn you that the public keys have changed. The $HOME/.ssh path contains all the keys from the hosts your system has connected to before. You can check out the known_hosts file like this:
$ cat ~/.ssh/known_hosts
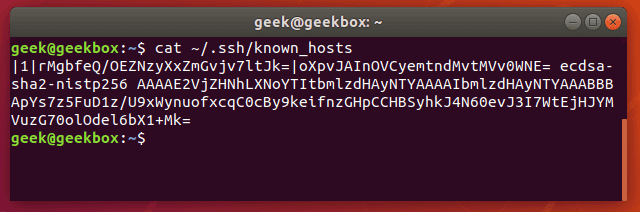
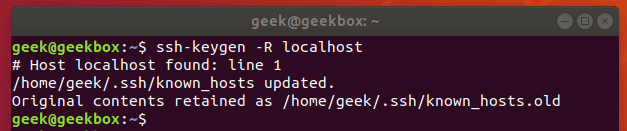
There’s only one host in our file, but even that just looks like gibberish to us. Rather than editing this file ourselves, it’s better to use the ssh-keygen command to remove a particular host key from the file.
$ ssh-keygen -r x.x.x.x
Or
$ ssh-keygen -r example.com
Use either the IP address or the hostname of the server. In our example, the key in our file is just from localhost, so we remove it like so:
SSH key files permissions
Since the SSH client reads from the known_hosts file when connecting to a different system, the current user will need to have the proper permissions on that file.
Without the proper permissions, you may see an error like this:
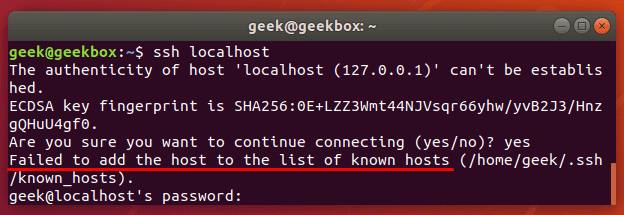
If using keys to authenticate (instead of a password) you’ll be locked out of the system entirely until you fix the permissions on your key files. Running these commands should remedy the problem:
$ chmod 700 ~/.ssh

$ chmod 644 ~/.ssh/authorized_keys

$ chmod 644 ~/.ssh/known_hosts

$ chmod 644 ~/.ssh/config

$ chmod 600 ~/.ssh/id_rsa

$ chmod 644 ~/.ssh/id_rsa.pub
Root login if disabled and how to enable it
For security reasons, Linux almost never wants you to do anything as root by default. When possible, you’re supposed to use an account with fewer permissions and only elevate to root when necessary.
Well, this is recommended in very very few situations, and sometimes you may want to just log in straight to root. SSH is configured by default to deny root logins.
If you’re trying to login to a system as root and you haven’t done any configurations to allow this, you’re only going to be able to get in by using a normal user account.
You can configure your SSH server to allow root logins by editing the sshd_config file. Use nano, vi, or your other favorite text editor to open the file here:
$ sudo vi /etc/ssh/sshd_config
Scroll down this file until you see PermitRootLogin.
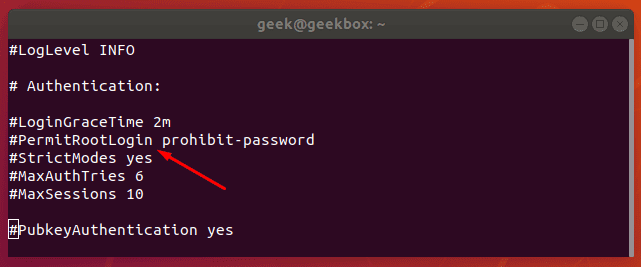
On our Ubuntu installation, PermitRootLogin is, by default, set to “prohibit-password”. This means that we can log in as root via key authentication, but not by supplying the root password.
On some systems, you may see it just say “no”, which means that root logins of any authentication method are not allowed.
To allow the root user to login via SSH, you can change this line to say yes. Make sure that you remove the # at the beginning so it’s no longer commented out. It would need to look like this in order to allow root logins:
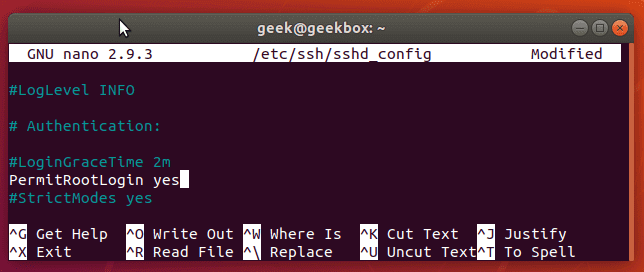
Whenever you make changes to this file, you have to restart the SSH service for them to take effect:
$ sudo systemctl restart ssh
Warning: Please be sure that you have a very secure root password set before editing the SSH configuration file to allow root login with a password. There are bots constantly scanning the internet for servers to SSH into, and they will attempt to login to the root account more than any other.
This is why SSH is configured by default to not permit any kind of root login via password.
We show in the next section how to see these connection attempts and show a real example of how attacks are constantly being executed against our live production server.
Backlog of connection requests (Flooding)
All of the connection attempts that have been made to your server are kept in a log file.
Perusing this log file can be helpful when troubleshooting connection or user account issues, but you can also use it to determine if your server has been flooded with connection requests.
Check for failed login attempts with this command:
$ cat /var/log/auth.log | grep "Failed password"
If you have a server open to the internet on port 22, it’s going to be common to get at least a few connection attempts every 10 minutes or so, just because of bots constantly browsing the internet for weak servers to hack.
Here’s a look at the auth.log file of one of my public servers:
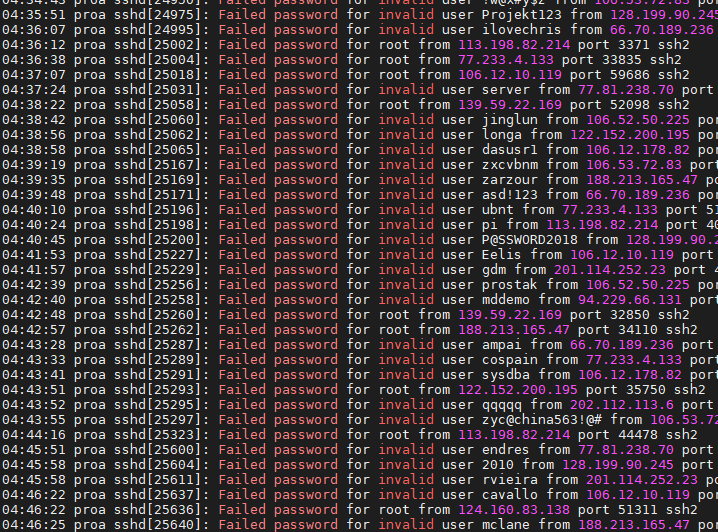
Nothing is alarming in this screenshot since the connection attempts are spaced out by at least a few seconds each time.
To harden your server from SSH brute force attacks, we’d recommend installing CSF Firewall. It’s configured by default to stop repeated SSH attempts from the same IP address. You can fine-tune these settings to your liking, but the default should suit most systems well:
$ vi /etc/csf/csf.conf
# [*]Enable login failure detection of sshd connections
LF_SSHD = "5"

LF_SSHD_PERM = "1"
LF_SSHD set to “5” is the number of max failed connections before blocking the IP address.
LF_SSHD_PERM set to “1” makes this blocking permanent.
Another popular method for limiting these bogus connection attempts is to whitelist trusted IPs and block all others. This only works if the same IPs are always SSHing to your server. To achieve this with iptables, you would use this command:
$ sudo iptables -A INPUT -p tcp -s 10.1.1.1,10.1.1.2 --dport 22 -m conntrack --ctstate NEW,ESTABLISHED -j ACCEPT
This command will only allow SSH connections from 10.1.1.1 and 10.1.1.2. You can list as many IPs as you need in that command, or list an entire subnet, such as 10.1.1.0/24. Note that your input’s chain policy must be set to drop.
Using ssh -vvv to debug SSH connection & check logs
Getting a simple error like “connection refused” isn’t all that helpful in figuring out what the problem is. If you’d like to see more information about what is happening during the SSH connection attempt, you can use ssh -v.
$ ssh -v hostname
Or
$ ssh -vvv hostname
Putting three v’s in the command will further increase the verbosity.

You’ll get a lot of output with the -vvv switch, but here’s a little sample of how some of it looks:
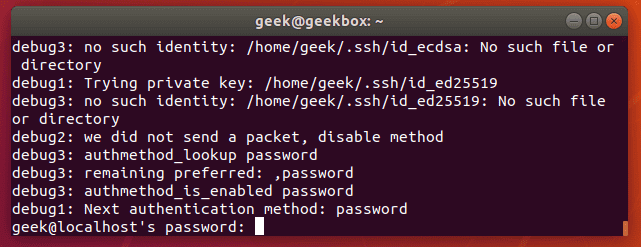
Hopefully, it will print an error that will give you a clue as to what needs to be fixed. If not, try googling the error you receive to see if there’s been a suggestion posted online.
I covered most causes for the SSH connection refused problem, and I hope you find the tutorial useful.
Keep coming back.
Mokhtar is the founder of LikeGeeks.com. He is a seasoned technologist and accomplished author, with expertise in Linux system administration and Python development. Since 2010, Mokhtar has built an impressive career, transitioning from system administration to Python development in 2015. His work spans large corporations to freelance clients around the globe. Alongside his technical work, Mokhtar has authored some insightful books in his field. Known for his innovative solutions, meticulous attention to detail, and high-quality work, Mokhtar continually seeks new challenges within the dynamic field of technology.
Great guide thanks..!
You’re welcome! Thanks!