Kivy tutorial – Build desktop GUI apps using Python
Kivy is an open-source Python library; you can use it to create applications on Windows, Linux, macOS, Android, and iOS.
We will discuss how to play with the Kivy buttons, labels, recycle view, scroll view, Kivy Canvas, and other widgets to become familiar with the library.
You can design Kivy widgets using an intermediate language called Kv language as you’ll see later.
Now, let’s start with the installation.
Installation
If you have multiple versions of Python installed on your computer, then you will have to install Kivy in the version that you wish to use for development.
Assuming Python to be installed, consider the following steps:
- The Python packages can be installed using pip. As Kivy needs compilation when installing with pip, therefore, we need wheels, which is a pre-built distribution of an already compiled package. You can also use git to install Kivy but in this tutorial, we will use wheel.
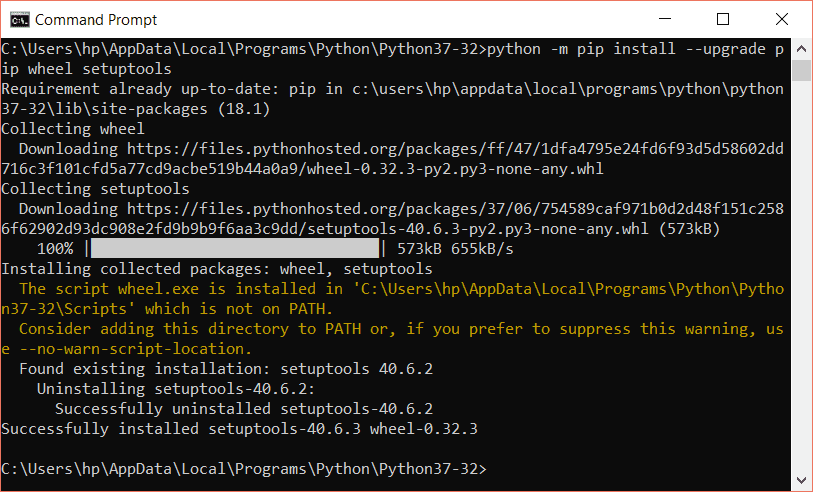
Run the following command to get pip and wheel installed:
python -m pip install --upgrade pip wheel setuptools
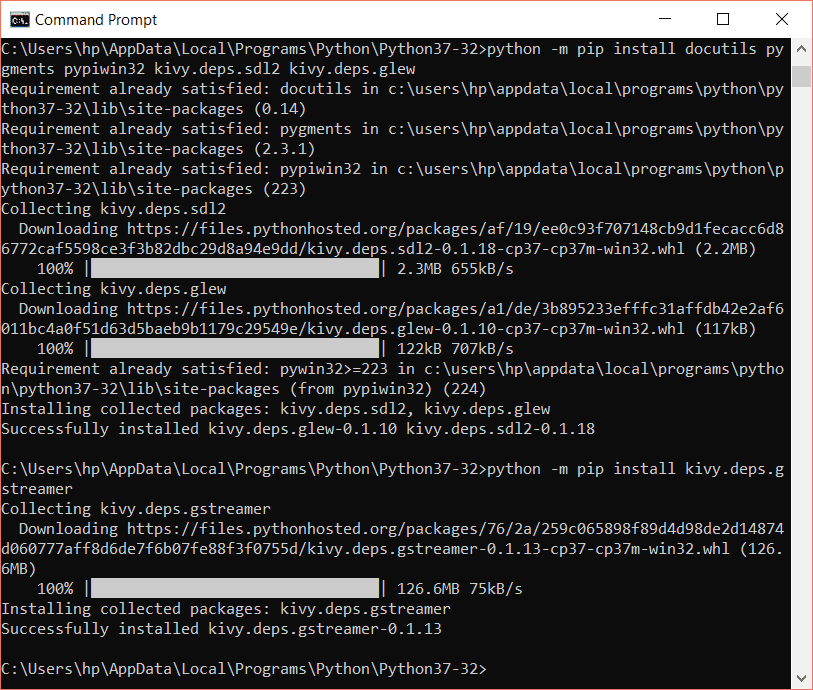
- Now we have to install the dependencies. Execute the following commands:
python -m pip install docutils pygments pypiwin32 kivy.deps.sdl2 kivy.deps.glew
Then:
python -m pip install kivy.deps.gstreamer
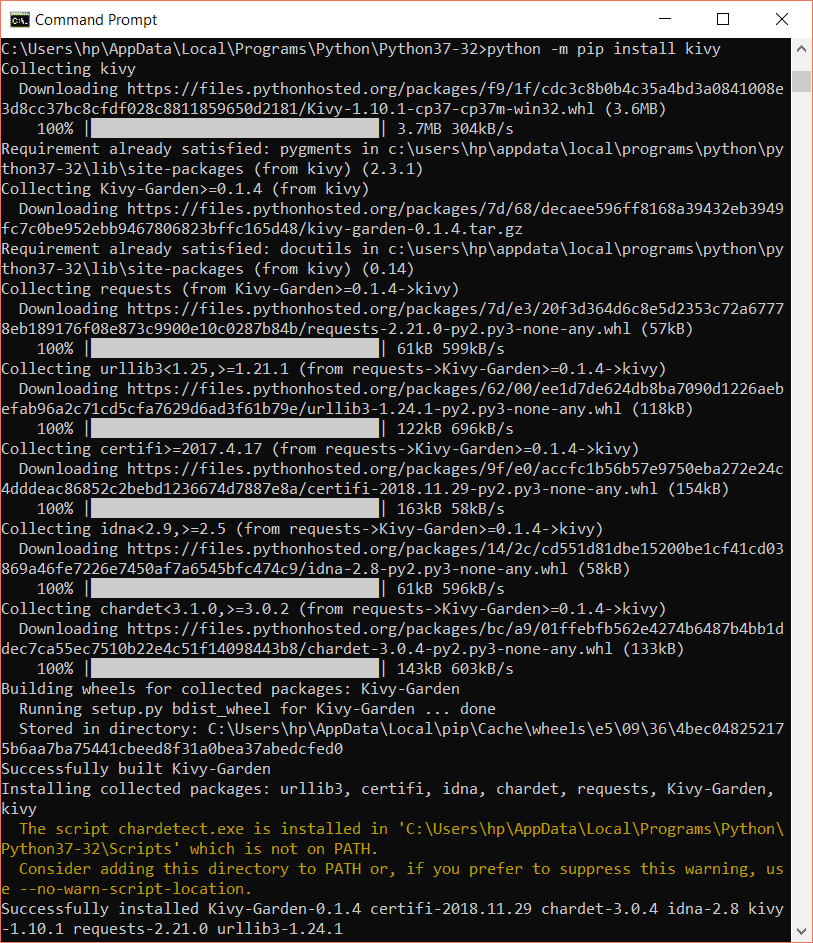
- After installing dependencies for Kivy, install Kivy using the following command:
python –m pip install kivy
Kivy GUI
In this section, you will learn how to create and run a Kivy program and how to build a basic interface in Kivy.
Let’s create a file with the .py extension.
To create a Kivy interface, we first need to import the Kivy app module in our program using the following statement:
from kivy.app import App
Now importing label from kivy.uix.label:
from kivy.uix.label import Label
Now is the time to write our main program.
class FirstKivy(App):
    def build(self):
        return Label(text="Hello Kivy!")
In the above snippet, a class is inherited from the App class. Then to build the application, we have to return a widget on the build() function. In the code above, we have returned a label with the text “Hello Kivy”.
The last step is to call this function. You can either create an object of the class or just write the following statement:
FirstKivy().run()
The entire python file looks like the following:
from kivy.app import App
from kivy.uix.label import Label
class FirstKivy(App):
    def build(self):
        return Label(text="Hello Kivy!")
FirstKivy().run()
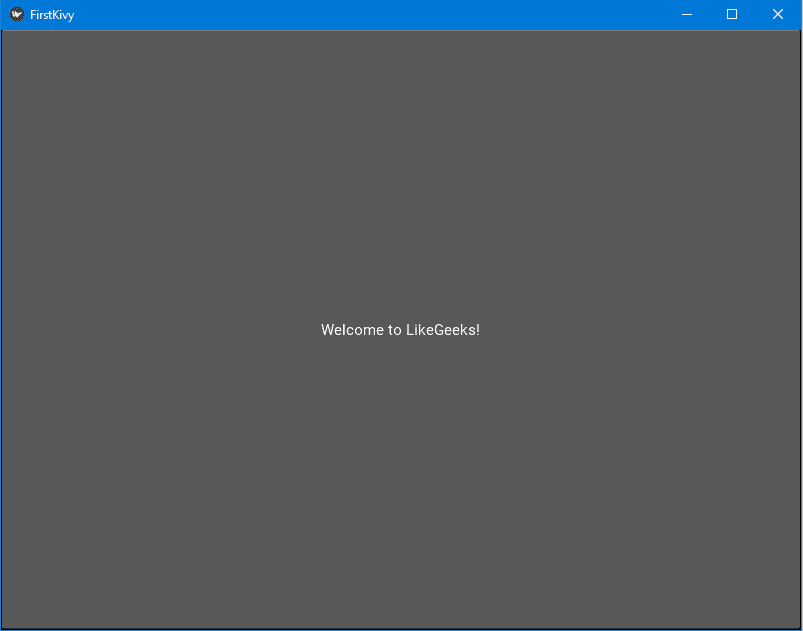
The result of this code will be like this:
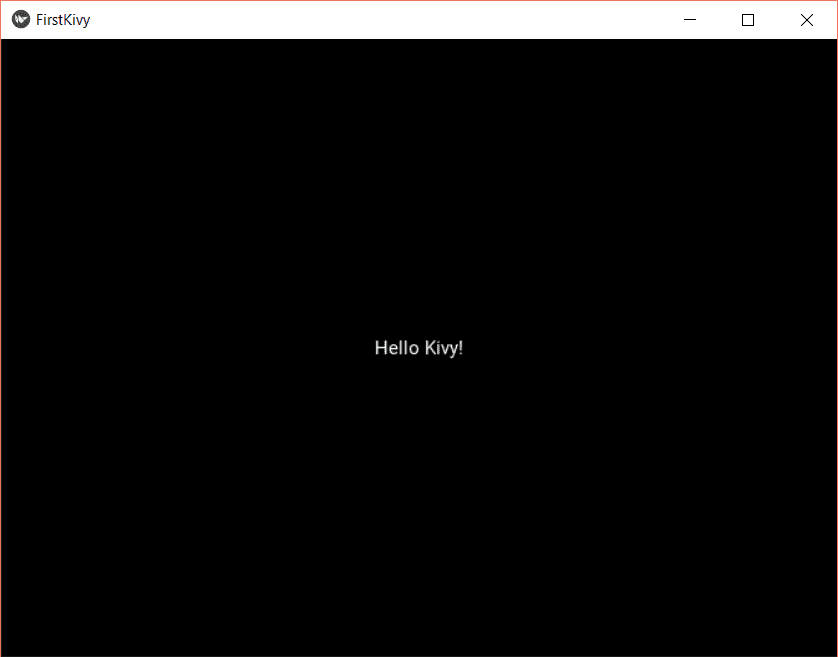
Congratulations! Your first Kivy app runs successfully.
Kivy Button
In this section, you will learn how to create a button, change the color of a button, enable/disable, how to add an image on the button, and how to change its size & position.
In the last program, we used the label. To create a button, import button instead of a label as follows:
from kivy.app import App
from kivy.uix.button import Button
class FirstKivy(App):
    def build(self):
        return Button(text="Welcome to LikeGeeks!")
FirstKivy().run()
The entire output screen will be as follows:
The button fills the window, don’t worry, we will resize it later.
The default color of a Kivy button is grey. You can change the color by specifying the background_color property in the format (r, g, b, a). The code demonstrated below:
from kivy.app import App
from kivy.uix.button import Button
class KivyButton(App):
    def build(self):
        return Button(text="Welcome to LikeGeeks!", background_color=(155,0,51,53))
KivyButton().run()
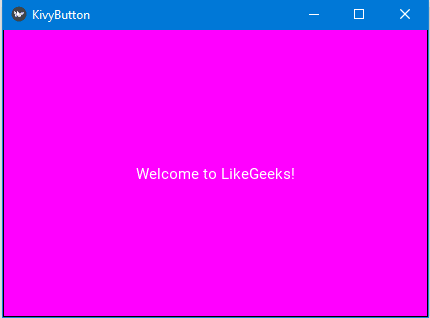
When you run the program, it will show the button like this:
Disable Kivy Button
To disable a button, you have to set the disabled property to True.
mybtn.disabled = True
Consider the following code to disable a button after we press it:
from kivy.uix.button import Button
from kivy.app import App
from functools import partial
class KivyButton(App):
    def disable(self, instance, *args):
        instance.disabled = True
    def update(self, instance, *args):
        instance.text = "I am Disabled!"
    def build(self):
        mybtn = Button(text="Click me to disable")
        mybtn.bind(on_press=partial(self.disable, mybtn))
        mybtn.bind(on_press=partial(self.update, mybtn))
        return mybtn
KivyButton().run()
In the above code, we have imported partial function from the functools so that we can use the bind() function.
A KivyButton() class is created with two custom methods. The first method is the disable() method. You can name it what you want.
Then we have the update() method to update the text of our button after clicking on it. Also, you can name your function as you want.
The next function is the build() function. This method runs automatically when a button is created. Then we have called the disable() method using partial. Similarly, the update() method is called to update the text of the button after it is disabled.
The return value from the disable() function is bound to the on_press function of our button. Therefore, when the button is pressed, it is disabled first, and then the text is updated.
The output is like this:

Change the size and position
Using the pos and size_hint property of the button widget, you can easily change the position and size of a button respectively. You can change the size and the position of a Kivy button like this:
from kivy.app import App
from kivy.uix.button import Button
class KivyButton(App):
    def build(self):
        return Button(text="Welcome to LikeGeeks!", pos=(300,350), size_hint = (.25, .18))
KivyButton().run()
The following output will be like this:
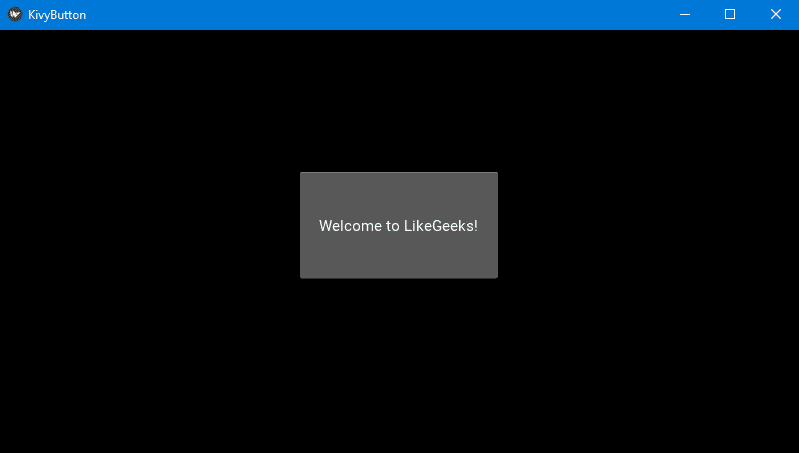
The pos parameter specifies the position for the button while the size_hint parameter specifies the size of the button.
Image in Kivy Button
In this section, you will learn to add an image to a button. We will be using Kv language for the first time to create our widgets instead of instantiating them from code.
Given below are the Kivy libraries that we are going to import:
from kivy.app import App
from kivy.uix.boxlayout import BoxLayout
from kivy.lang import Builder
BoxLayout is used to position the widgets so that widgets can be placed together in an organized manner. In Kivy, several layouts can be used to organize the widgets, for example, box layout, anchor layout, float layout, etc.
Load Kv string or file
By default, Kivy tries to load the Kv file with the same name as your class but without the word App and in lower case.
If your class is TestApp, so it will search for a Kv file with name test.kv on the same directory to load widgets from it.
The other way to load the kv file using the Kivy Builder.
Kivy Builder is used to load widgets from Kv strings or files. For example, if you want to create a widget, you can use the builder like this:
Builder.load_string(""" """)
Inside the triple quotation marks, the required widgets are added along with their properties. In the example below, we have added a KivyButton class.
First, the text and size of the button are set, then the image is specified in the source attribute and the image coordinates.
The image is placed on the same directory, so the image path is fine now.
Builder.load_string("""
<KivyButton>:
    Button:
        text: "Hello Button!"
        size_hint: .12, .12
        Image:
            source: 'images.jpg'
            center_x: self.parent.center_x
            center_y: self.parent.center_y
""")
Now, let’s import this definition and run our class:
from kivy.app import App
from kivy.uix.boxlayout import BoxLayout
from kivy.lang import Builder
Builder.load_string("""
<KivyButton>:
    Button:
        text: "Hello Button!"
        size_hint: .12, .12
        Image:
            source: 'images.jpg'
            center_x: self.parent.center_x
            center_y: self.parent.center_y
""")

class KivyButton(App, BoxLayout):
    def build(self):
        return self
KivyButton().run()
Similarly, you can load the Kv string from a separate file using the load_file method like this:
Builder.load_file("myfile.kv")
The file here contains all Kivy widgets definitions.
Kivy Label
In our first GUI app, we added a label to our form, but this time, we will play with the label properties.
You can use a label to add text to our GUI. Kivy label supports ASCII and Unicode strings only.
Change the font size
You can change the font size of the label using the font_size property:
from kivy.app import App
from kivy.uix.button import Label
class KivyButton(App):
def build(self):
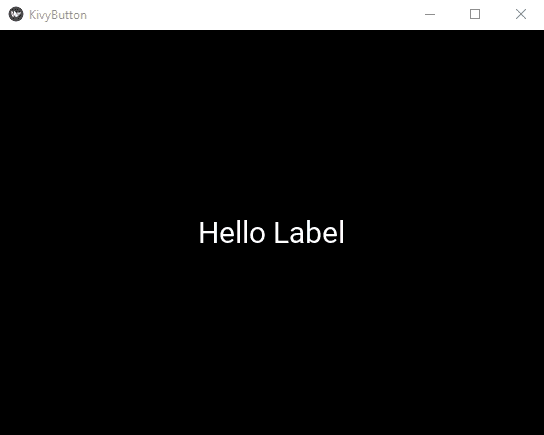
return Label(text="Hello Label", font_size='30')
KivyButton().run()
Adding Style to text in label
In this section, we will change the styles of the text in the label.
For example, bold, italic, change color, underline, and much more using markup. Consider the following statement:
Label(text='[u][color=ff0066][b]Better days[/b][/color] are coming; They are called [i][color=ff9933]Saturday[/i] and [i]Sunday[/color][/i][/u]', markup = True)
Where the
[color][/color]
for colorizing the font.
from kivy.app import App
from kivy.uix.button import Label
class KivyLabel(App):
def build(self):
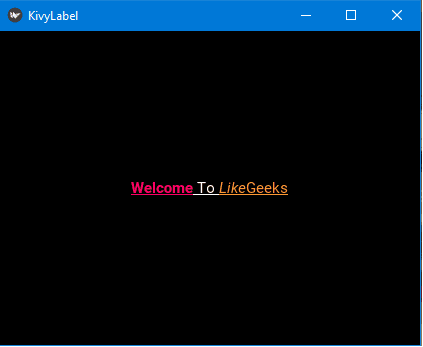
return Label(text='[u][color=ff0066][b]Welcome[/b][/color] To [i][color=ff9933]Like[/i]Geeks[/color][/u]', markup = True)
KivyLabel().run()
This result will be like this:
Kivy RecycleView
Assume that you have a great number of widgets that you want to display on your screen, which may affect the performance.
The goal of RecycleView is to arrange the view groups on the screen.
RecycleView is memory efficient as it loads contents into memory according to the size of the screen, unlike ListView, where all items are loaded into memory.
One of the key features of RecycleView is that it supports animation. RecycleView can create an interactive and efficient scrollable list.
Before start coding, there are two main concepts to focus on:
- View Holder which holds a view and helps the recycling.
- The adapter which is used to adapt the data to display in the list.
To use RecycleView, we need to import RecycleView from the recycleview module as follows:
from kivy.uix.recycleview import RecycleView
In the example below, we will create a vertical list of buttons. Therefore, the view items that we want to place are the buttons:
The first step is to define the layout and view class of our recycleview:
Builder.load_string('''
<ExampleRV>:
    viewclass: 'Button'
    RecycleBoxLayout:
        size_hint_y: None
        height: self.minimum_height
        orientation: 'vertical'
''')
Now we have to define our recycleview class:
class ExampleRV(RecycleView):
    def __init__(self, **kwargs):
        super(ExampleRV, self).__init__(**kwargs)
        self.data = [{'text': str(x)} for x in range(20)]
Here
__init__
The constructor of the class with **kwargs meaning any arbitrary number of arguments or keyword arguments are acceptable. Now calling the above class:
class RecycleApp(App):
    def build(self):
        return ExampleRV()
RecycleApp().run()
So the complete code will be like this:
from kivy.app import App
from kivy.uix.recycleview import RecycleView
from kivy.lang import Builder
Builder.load_string('''
<ExampleRV>:
    viewclass: 'Button'
    RecycleBoxLayout:
        size_hint_y: None
        height: self.minimum_height
        orientation: 'vertical'
''')

class ExampleRV(RecycleView):
    def __init__(self, **kwargs):
        super(ExampleRV, self).__init__(**kwargs)
        self.data = [{'text': str(x)} for x in range(20)]
class RecycleApp(App):
    def build(self):
        return ExampleRV()
RecycleApp().run()
And the output looks like this:
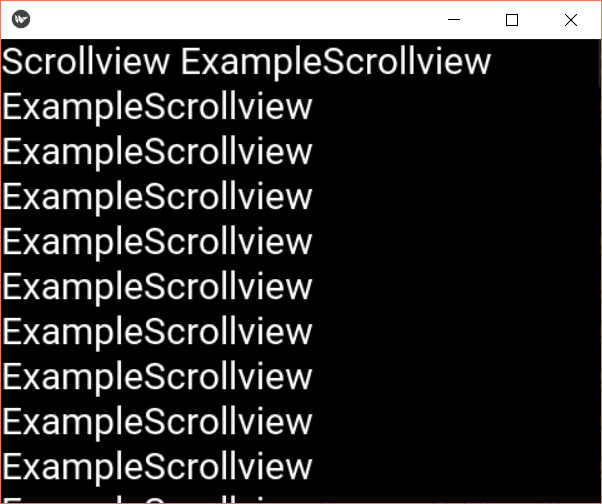
Kivy ScrollView
The ScrollView in Kivy provides a scrollable view. Using scrollview, we can scroll through the x-axis as well as the y-axis on the screen.
First, we will import a new function called runTouchApp(). This function will make our scrollview touch-enabled.
from kivy.base import runTouchApp
We will define the scrollView as follows:
from kivy.base import runTouchApp
from kivy.lang import Builder
root = Builder.load_string(r'''
ScrollView:
    Label:
        text: 'Scrollview Example' * 100
        font_size: 30
        size_hint_x: 1.0
        size_hint_y: None
        text_size: self.width, None
        height: self.texture_size[1]
''')

runTouchApp(root)
The output will be like this:
Kivy Clear text input
In this section, we will create a text field and a button to clear the text field content.
For the text field, import the textinput module:
from kivy.uix.textinput import TextInput
Let’s create a BoxLayout to add our widgets inside our class.
self.box = BoxLayout(orientation='horizontal', spacing=20, pos=(0,550))
Now we are going to create an input field:
self.txt = TextInput(hint_text="Write here",size_hint=(.5,.1))
After the input field, we have to create a button that clears our text.
For this, we will create a clearText method that sets the text to an empty string, and we will call this method when the button is pressed that is by using the on_press property of the button.
Therefore, when we press the button, the text will be erased.
self.btn = Button(text='Clear All', on_press=self.clearText,size_hint=(.1,.1))
Now we have to add our widgets (input field and button) into the boxlayout:
self.box.add_widget(self.txt)
self.box.add_widget(self.btn)
The ClearText method looks like the following:
def clearText(self, instance):
        self.txt.text = ''
The entire code will be like this:
from kivy.app import App
from kivy.uix.button import  Button
from kivy.uix.textinput import TextInput
from kivy.uix.boxlayout import BoxLayout
class ClearApp(App):
    def build(self):
        self.box = BoxLayout(orientation='horizontal', spacing=20)
        self.txt = TextInput(hint_text='Write here', size_hint=(.5,.1))
        self.btn = Button(text='Clear All', on_press=self.clearText, size_hint=(.1,.1))
        self.box.add_widget(self.txt)
        self.box.add_widget(self.btn)
        return self.box
    def clearText(self, instance):
        self.txt.text = ''
ClearApp().run()
The output will be like this:
Kivy Clock
You can use the Kivy clock object to schedule a function call after specific intervals.
In this section, we will create a button. We will change the text of the button every 2 seconds as an example for using Kivy clock.
Import the following modules first:
from kivy.app import App
from kivy.clock import Clock
from kivy.uix.button import Button
Now, create a class and initialize a counter variable as follows:
class ClockExample(App):
    i = 0
Now, create a button and using clock.schedule_interval we will call a user-defined function every 2 seconds. Each time the function is called, the value of the counter variable is incremented by one which is printed on the button.
def build(self):
self.mybtn = Button(text='Number of Calls')
Clock.schedule_interval(self.Clock_Callback, 2)
return self.mybtn
def Clock_Callback(self, dt):
self.i = self.i+1
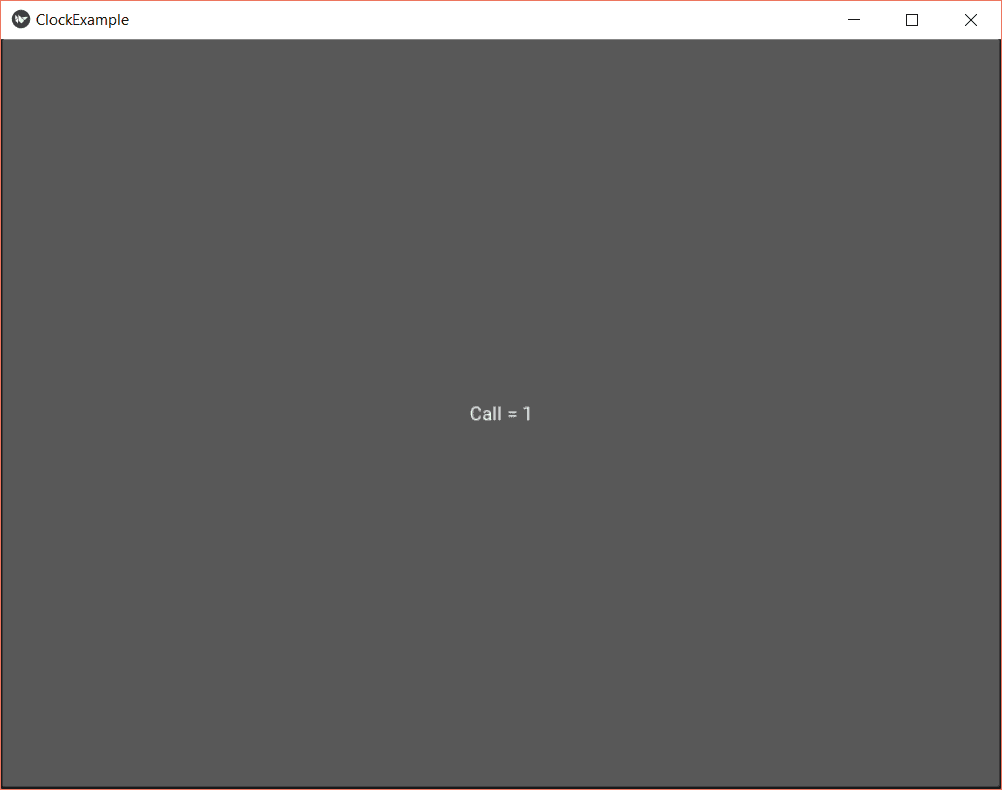
self.mybtn.text = "Call = %d"%self.i
The dt argument is used to elapse time between the scheduling and the calling of the callback function. If no argument passed, it would throw an error about the callback function that it takes one positional argument, but two were given.
The complete code looks like this:
from kivy.app import App
from kivy.uix.button import  Button
from kivy.clock import Clock
class ClockExample(App):
    i=0
    def build(self):
        self.mybtn = Button(text='Number of Calls')
        Clock.schedule_interval(self.clock_callback, 2)
        return self.mybtn
    def clock_callback(self, dt):
        self.i+= 1
        self.mybtn.text = "Call = %d" % self.i
ClockExample().run()
Every 2 seconds, the button text will change as expected.
Kivy Canvas
You can draw what you want inside a canvas. In this section, you will learn to create a canvas and how to draw a rectangle on the canvas.
We are going to create a canvas in boxlayout and then a rectangle on the canvas.
Import the following modules:
import kivy
from kivy.app import App
from kivy.lang import Builder
from kivy.uix.boxlayout import BoxLayout
Consider the code below to create a canvas:
kvWidget = """
MyWidget:
    orientation: 'vertical'
    canvas:
        Color:
            rgb: (255, 0, 0)
        Rectangle:
            size: self.size
            pos: self.pos
"""
class MyWidget(BoxLayout):
    def __init__(self, **kwargs):
        super().__init__(**kwargs)
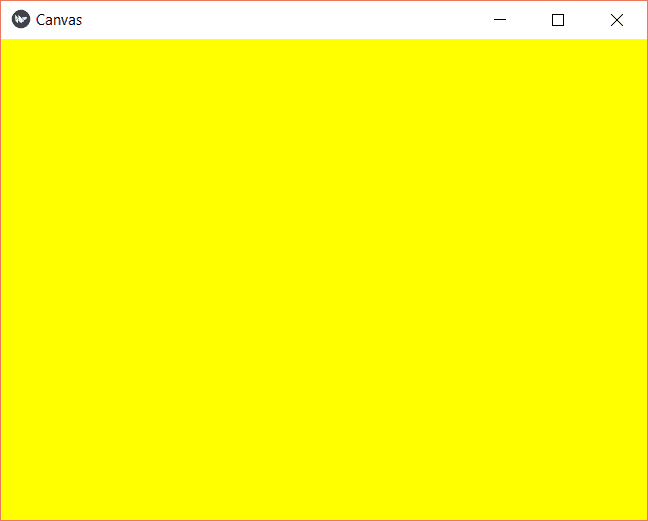
In this code, we have a BoxLayout class named MyWidget. Now the kvWidget string defines a canvas with its color property and a rectangle with the same size and position of the BoxLayout.
The complete code will be like this:
from kivy.app import App
from kivy.lang import Builder
from kivy.uix.boxlayout import BoxLayout
kvWidget = """
MyWidget:
    orientation: 'vertical'
    canvas:
        Color:
            rgb: (255, 128, 0)
        Rectangle:
            size: self.size
            pos: self.pos
"""
class MyWidget(BoxLayout):
    def __init__(self, **kwargs):
        super().__init__(**kwargs)
class CanvasApp(App):
    def build(self):
        return Builder.load_string(kvWidget)
CanvasApp().run()
The output will be like this:
Canvas Image
To add an image to the canvas, we will create a rectangle equal to the size of the canvas and then will add an image on the rectangle.
The kvWidget string will look like the following:
from kivy.app import App
from kivy.lang import Builder
from kivy.uix.boxlayout import BoxLayout
kvWidget = """
MyWidget:
    orientation: 'vertical'
    canvas:
        Rectangle:
            size: self.size
            pos: self.pos
            source: 'images.jpg'
"""
class MyWidget(BoxLayout):
    def __init__(self, **kwargs):
        super().__init__(**kwargs)
class CanvasApp(App):
    def build(self):
        return Builder.load_string(kvWidget)
CanvasApp().run()
Kivy vs. PyQt
Like Kivy, we also use PyQt to create GUI applications, but PyQt more popular in developing desktop applications.
Although we discussed Kivy here to build desktop applications, Kivy is commonly used for mobile applications due to Kivy widgets capabilities in multitouch.
PyQt library is available in other programming languages such as C++, while Kivy is only available in Python.
Kivy uses OpenGL interfaces to draw widgets directly on the screen, so you can also create games with good graphics.
I hope you find your suitable Python GUI framework to build what you need.
At last, we discussed many examples for Kivy and previously Tkinter, PyQt5. Which one do you prefer in building your graphical interfaces?
Ayesha Tariq is a full stack software engineer, web developer, and blockchain developer enthusiast. She has extensive knowledge of C/C++, Java, Kotlin, Python, and various others.
Awesome, in-depth tutorial. Nice work.
I did find, however, on the kivy canvas portion, an error is generated if “super().__init__” is not replaced with “super( baseclass, self).__init__” for Python 2.7.
Thanks Again!
Thanks for your comment.
The tutorial we used python 3.7. Regarding Python 2.7 I don’t know the behavior.
Wow, Learned new module , enjoyed a lot using kivy.
Great to hear that!
Best wishes.
You are a life saver! There doesn’t seem to be much out there in the way of RecycleView tutorials. I can finally move on in my project!!!
One question if you would be so kind:
How does one go about changing the width/height of the buttons in the RecycleView list?
Thank you for this tutorial!!
Thanks for the kind words!
Regarding your question, you can set any setting like the button text in the example discussed in the tutorial.
Kivy seems to be the best, with pyqt5 we cannot create mobile apps
ERROR: Could not find a version that satisfies the requirement kivy.deps.sdl2 (from versions: none)
ERROR: No matching distribution found for kivy.deps.sdl2
It seems that you got an error when installing the dependencies.
Make sure you are using Python 32bit version as the used one on the tutorial.
Also, try to use Python 3.4 if you still get this error.
Why are you not using the kivy property? I think it would be easier.
What do you mean by property?
IS there a way to build an app in which I can show the data visualization done using matplotlib or bokeh packages in python.
Like in R we can build web application using R-Shiny, how to do the same for android apps.?
You can show matplotlib inside kivy layouts like this:
from kivy.garden.matplotlib.backend_kivyagg import FigureCanvasKivyAggfrom kivy.app import App
from kivy.uix.boxlayout import BoxLayout
import matplotlib.pyplot as plt
plt.plot([10, 30, 20, 45])
class MyApp(App):
def build(self):
box = BoxLayout()
box.add_widget(FigureCanvasKivyAgg(plt.gcf()))
return box
MyApp().run()
Hope that helps!
Is there a way to build an app where one can show data visualization done using bokeh or matplotlib in python?
Creating web application is easy for that, how to do it using kivy?
Re: Kivy
Can it do a traditional desktop app with Rile/Edit/View… menus and traditional buttons? I did not see this in your demo and don’t see a reference to the subject in the docs.
Dave,
Yes, you can create menus using ActionBar like this:
from kivy.lang import Builderkv_str = Builder.load_string('''
ActionBar:
pos_hint: {'top':1}
ActionView:
use_separator: True
ActionPrevious:
title: 'My App'
with_previous: False
ActionButton:
text: 'File'
ActionButton:
text: 'Edit'
Hope that helps!
how to connect app with backend
If you mean a database, I have a tutorial about connecting to a SQLite database using Python.
Very good and interesting tutorials ! Thanks a lot !
You’re welcome!
Easy to understand, came here to learn about Recycler, but landed up reading through all of it.
Great to hear that! Best Wishes!
Loved your work and your attetiveness to the questios. Hope your well and our blessings go out to you and your loved ones from Bolivia!
Thank you very much for the kind words!
I’ll do my best to keep everyone happy.
Have a great day!
interesting post
Thanks!
thanks, interesting read
You’re welcome! Thanks!
Thanks, I’ve been looking for this for a long time
I’m glad to hear that you found what you’ve been searching for! If you have any more questions or need further information, feel free to reach out.
Thanks, I’ve been looking for this for a long time
Great to know that.
All Best!