Downloading Files using Python (Simple Examples)
In this tutorial, you will learn how to download files from the web using different Python modules. You will download regular files, web pages, Amazon S3, and other sources.
Also, you will learn how to overcome many challenges that you may counter, such as downloading files that redirect, downloading large files, multithreaded download, and other tactics.
Using requests
You can download files from a URL using the requests module.
Consider the code below:
import requests
url = 'https://www.python.org/static/img/python-logo@2x.png'
myfile = requests.get(url)
open('c:/users/LikeGeeks/downloads/PythonImage.png', 'wb').write(myfile.content)
Simply, get the URL using the get method of requests module and store the result into a variable “myfile” variable. Then you write the contents of the variable into a file.
Using wget
You can also download a file from a URL by using the wget module of Python. Install the wget module using pip as follows:
pip install wget
Consider the following code in which we will download the logo image of Python:
import wget
url = "https://www.python.org/static/img/python-logo@2x.png"
wget.download(url, 'c:/users/LikeGeeks/downloads/pythonLogo.png')
In this code, we passed the URL along with the path (where we will store the image) to the download method of the wget module.
Download file that redirects
In this section, you will learn to download from a URL that redirects to another URL with a .pdf file using requests. The URL is like the following:
https://readthedocs.org/projects/python-guide/downloads/pdf/latest/
To download this pdf file, use the following code:
import requests
url = 'https://readthedocs.org/projects/python-guide/downloads/pdf/latest/'
myfile = requests.get(url, allow_redirects=True)
open('c:/users/LikeGeeks/documents/hello.pdf', 'wb').write(myfile.content)
In this code, the first step we specify the URL. Then we use the get method of the requests module to fetch the URL. In the get method, we set the allow_redirects to True, which will allow redirection in the URL. After redirection, the content will be in myfile variable.
Finally, we open a file to write the fetched content.
Download large file in chunks
Consider the code blew:
import requests
url = 'https://www.cs.uky.edu/~keen/115/Haltermanpythonbook.pdf'
r = requests.get(url, stream = True)
with open("PythonBook.pdf", "wb") as Pypdf:
	for chunk in r.iter_content(chunk_size = 1024):
		if chunk:
			Pypdf.write(chunk)
First, we use the get method of the requests module as we did before, but this time we will set the stream attribute to True.
Then we create a file named PythonBook.pdf in the current working directory and open it for writing.
Then we specify the chunk size that we want to download at a time. We have set to 1024 bytes. Iterate through each chunk and write the chunks in the file until the chunks finished.
The Python shell will look like the following when the chunks are downloading:
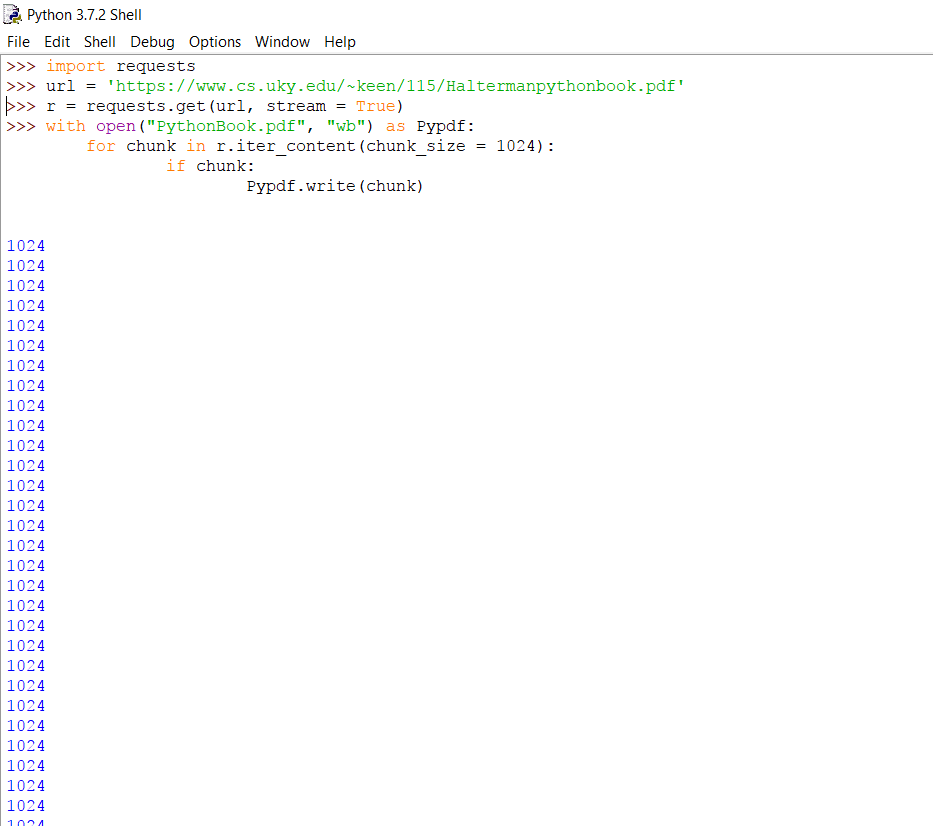
Not pretty? Don’t worry; we will show a progress bar for the downloading process later.
Download multiple files (Parallel/bulk download)
To download multiple files at a time, import the following modules:
import os
import requests
from time import time
from multiprocessing.pool import ThreadPool
We imported the os and time modules to check how much time it takes to download files. The module ThreadPool lets you run multiple threads or processes using the pool.
Let’s create a simple function which sends the response to a file in chunks:
def url_response(url):
    path, url = url
    r = requests.get(url, stream = True)
    with open(path, 'wb') as f:
        for ch in r:
            f.write(ch)
The URLs variable is a two-dimensional array that specifies the path and the URL of a page you want to download.
urls = [("Event1", "https://www.python.org/events/python-events/805/"),
("Event2", "https://www.python.org/events/python-events/801/"),
("Event3", "https://www.python.org/events/python-events/790/"),
("Event4", "https://www.python.org/events/python-events/798/"),
("Event5", "https://www.python.org/events/python-events/807/"),
("Event6", "https://www.python.org/events/python-events/807/"),
("Event7", "https://www.python.org/events/python-events/757/"),
("Event8", "https://www.python.org/events/python-user-group/816/")]
Pass the URL to requests.get as we did in the previous section. Finally, open the file (path specified in the URL) and write the content of the page.
Now we can call this function for each URL separately, and we can also call this function for all the URLs at the same time. Let’s do it for each URL separately in for loop and notice the timer:
start = time()
for x in urls:
    url_response (x)
print(f"Time to download: {time() - start}")
The result will be like this:

Now replace the for loop with the following line of code:
ThreadPool(9).imap_unordered(url_response, urls)
Run the script:

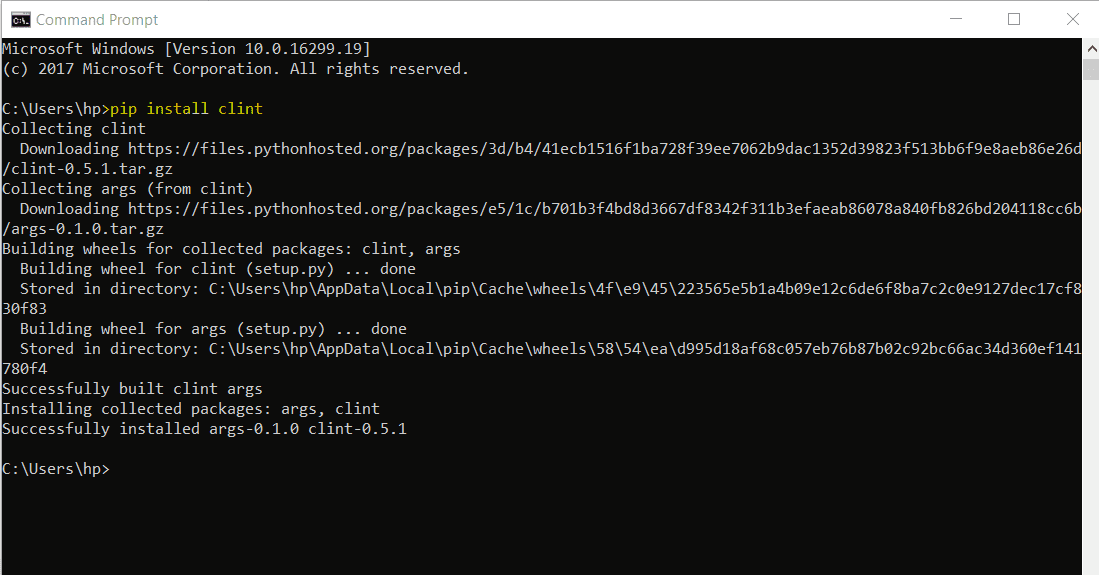
Download with a progress bar
The Progress bar is a UI widget of the clint module. To install the clint module, type the following command:
pip install clint
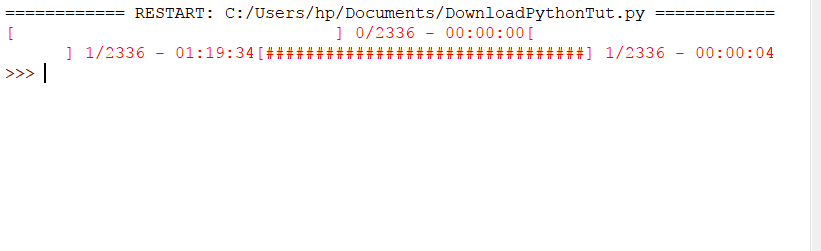
Consider the following code:
import requests
from clint.textui import progress
url = 'http://do1.dr-chuck.com/pythonlearn/EN_us/pythonlearn.pdf'
r = requests.get(url, stream=True)
with open("LearnPython.pdf", "wb") as Pypdf:
    total_length = int(r.headers.get('content-length'))
    for ch in progress.bar(r.iter_content(chunk_size = 2391975), expected_size=(total_length/1024) + 1):
        if ch:
            Pypdf.write(ch)
In this code, we imported the requests module and then from clint.textui, we imported the progress widget. The only difference is in the for loop. We used the bar method of the progress module while writing the content into the file. The output will be like the following:
Download a webpage using urllib
In this section, we will be downloading a webpage using the urllib.
The urllib library is a standard library of Python, so you do not need to install it.
The following line of code can easily download a webpage:
urllib.request.urlretrieve('url', 'path')
Specify the URL here that you want to save as and where you want to store it:
urllib.request.urlretrieve('https://www.python.org/', 'c:/users/LikeGeeks/documents/PythonOrganization.html')
In this code, we used the urlretrieve method and passed the URL of a file along with the path where we will save the file. The file extension will be .html.
Download via proxy
If you need to use a proxy to download your files, you can use the ProxyHandler of the urllib module. Check the following code:
>>> import urllib.request
>>> myProxy = urllib.request.ProxyHandler({'http': '127.0.0.2'})
>>> openProxy = urllib.request.build_opener(myProxy)
>>> urllib.request.urlretrieve('https://www.python.org/')
In this code, we created the proxy object and opened the proxy by invoking the build_opener method of urllib and passed the proxy object. Then we made the request to retrieve the page.

Also, you can use the requests module as documented in the official documentation:
import requests
myProxy = { 'http': 'http://127.0.0.2:3001' }
requests.get("https://www.python.org/", proxies=myProxy)
Simply import the requests module and create your proxy object. Then you can retrieve the file.

Using urllib3
The urllib3 is an improved version of the urllib module. You can download and install it using pip:
pip install urllib3
We will fetch a web page and store it in a text file by using urllib3.
Import the following modules:
import urllib3, shutil
You can use the shutil module when working with files. Now initialize the URL string variable like this:
url = 'https://www.python.org/'
Then we use the PoolManager of urllib3 that keeps track of necessary connection pools.
c = urllib3.PoolManager()
Create a file:
filename = "test.txt"
Finally, we send a GET request to fetch the URL and open a file and write the response into that file:
with c.request('GET', url, preload_content=False) as res, open(filename, 'wb') as out_file:
	shutil.copyfileobj(res, out_file)
Download file from S3 using boto3
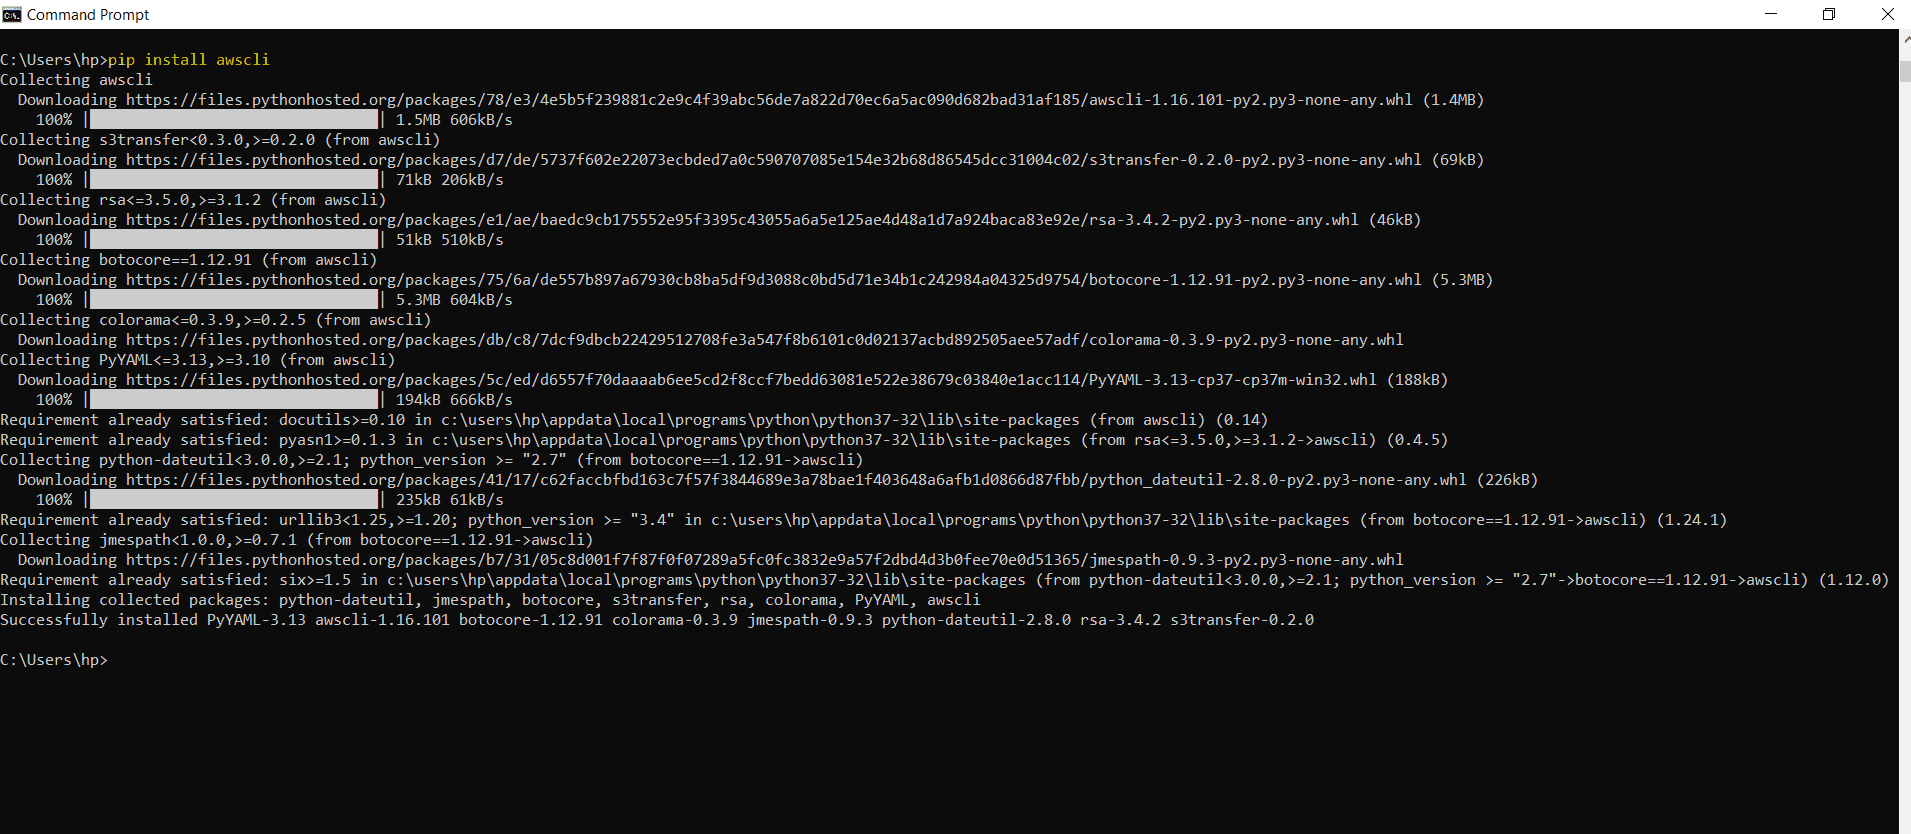
To download files from Amazon S3, you can use the Python boto3 module.
First, you need to install the awscli module using pip:
pip install awscli
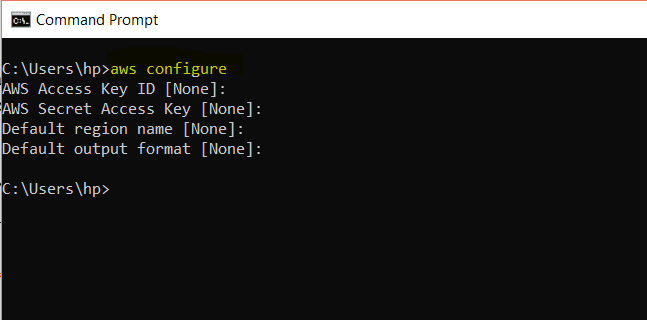
For AWS configuration, run the following command:
aws configure
Now enter your details as:
AWS Access Key ID [None]: (The access key)
AWS Secret Access Key [None]: (Secret access key)
Default region name [None]: (Region)
Default output format [None]: (Json)
To download a file from Amazon S3, import boto3, and botocore. Boto3 is an Amazon SDK for Python to access Amazon web services such as S3. Botocore provides the command line services to interact with Amazon web services.
Botocore comes with awscli. To install boto3 run the following:
pip install boto3
Now import these two modules:
import boto3, botocore
When downloading files from Amazon, we need three parameters:
- The name of Bucket
- The name of the file you need to download
- The name of the file after it has downloaded
Initialize the variables:
bucket = "bucketName"
file_name = "filename"
downloaded_file = "downloadedfilename"
Now initialize a variable to use the resource of a session. For this, we will call the resource() method of boto3 and pass the service which is s3:
service = boto3.resource(‘s3’)
Finally, download the file by using the download_file method and pass in the variables:
service.Bucket(bucket).download_file(file_name, downloaded_file)
Using asyncio
You can use the asyncio module to handle system events. It works around an event loop that waits for an event to occur and then reacts to that event. The reaction can be calling another function. This process is called event handling. The asyncio module uses coroutines for event handling.
To use the asyncio event handling and coroutine functionality, we will import the asyncio module:
import asyncio
Also, we need to install aiohttp module.
pip install aiohttp
We will import the async_timeout module to handle timeouts.
import async_timeout
The keyword async tells that this is a native asyncio coroutine. Inside the body of the coroutine, we have the await keyword, which returns a certain value. We also used the return keyword.
Now let’s create a code using a coroutine to download files from the web:
import asyncio
import uuid
import aiohttp
import async_timeout
async def get_url(url, session):
    file_name = str(uuid.uuid4())
    async with async_timeout.timeout(120):
        async with session.get(url) as response:
            with open(file_name, 'wb') as fd:
                async for data in response.content.iter_chunked(1024):
                    fd.write(data)
    return 'Successfully downloaded ' + file_name
async def main(urls):
    async with aiohttp.ClientSession() as session:
        tasks = [get_url(url, session) for url in urls]
        return await asyncio.gather(*tasks)
urls = ["https://www.python.org/events/python-events/801/",
        "https://www.python.org/events/python-events/790/",
        "https://www.python.org/events/python-user-group/816/",
        "https://www.python.org/events/python-events/757/"]
loop = asyncio.get_event_loop()
results = loop.run_until_complete(main(urls))
print('\n'.join(results))
In this code, we created an async coroutine function that downloads our files in chunks and saves them with a random file name and returns a message.
Then we have another async coroutine calls the get_url and waits for the URLs and make a queue of all URLs.
Now to start the coroutine, we have to put the coroutine inside the event loop by using the get_event_loop() method of asyncio and finally, the event loop is executed using the run_until_complete() method of asyncio.
Downloading files using Python is fun. I hope you find the tutorial useful.
Thank you.
Mokhtar is the founder of LikeGeeks.com. He is a seasoned technologist and accomplished author, with expertise in Linux system administration and Python development. Since 2010, Mokhtar has built an impressive career, transitioning from system administration to Python development in 2015. His work spans large corporations to freelance clients around the globe. Alongside his technical work, Mokhtar has authored some insightful books in his field. Known for his innovative solutions, meticulous attention to detail, and high-quality work, Mokhtar continually seeks new challenges within the dynamic field of technology.
Mokhtar, appreciate your effort in taking time to compile these tutorials. Thank you for sharing your knowledge to the world. More blessings to you bro!.
Thank you very much for the kind words! Appreciate it so much.
That drives me to do my best.
Have a great day.
Dunno if my previous comment went through. Might be due to the link? Please feel free to delete this comment if the previous one is just waiting for moderation.
Would you be willing to change your asyncio example? The one you currently have isn’t super useful. I made a comment on the /r/Python post with an example that would work better. Your current example doesn’t do anything concurrently, for example. Here’s the last part of the URL so you can see for yourself, please just prepend reddit.com to the front of it:
/r/Python/comments/aq86xc/slug/ege6u55
Thank you very much Evan! Appreciate it.
I modified the code. Check it and tell me if there anything needs to be modified.
Regards,
Looks much better, thanks for listening. As someone who almost exclusively deals with asyncio and HTTP, I’m generally frustrated with the poor quality of asyncio documentation and example code online. The official Python docs are exceedingly bad for regular people so it’s understandable why things are the way they are.
The example code I posted doesn’t handle certain types of timeouts, so that would probably be the next step. aiohttp comes bundled with the excellent async_timeout library, so to add a total request timeout you’d do this:
import async_timeout
# Inside an async def function
async with async_timeout.timeout(120):
async with session.get(url) as response:
# And so on
With this, the entire request can take no longer than 120 seconds. This library can be used with any asyncio operation, not just aiohttp.
Sorry about the code not being in code blocks, but I don’t know what markup language your blog engine uses.
Hello Evan,
Thanks for your care. I updated the code and included the async module.
But this timeout will be for each request, not the entire requests.
I tested ThreadPool code, but nothing was downloaded. The reported time is fast, but without downloading any files.
Ok. files are successfully downloaded with some fixes
“`python
results = ThreadPool(9).imap_unordered(url_response, urls)
for each in results: pass
“`
The second line is extremely important, otherwise, it will not download any file.
How do you can you output progress to the console when using async?
You can use clint as described in the tutorial.
Thanks Mokhtar, i was actually looking for this. I am new to Python and am trying to download and read log files of a portal at my work. This will make my life easy.
You’re welcome.
I’m very glad to hear that!
Hope you the best.
Hello there, You have done a great job. I will certainly digg it and personally suggest to my friends. I’m sure they will be benefited from this website.
Great to hear that!
Saved as a favorite, I love your web site!
Great to know that! and thank you very much for your words!